When I first saw this was going to be available I knew I wanted it for my Capri – even though I had no prior MS experience and even though I ALSO have an SVO! (which the PiMP was originally developed) My Capri is heavily modified, and while it ran and drove fine, I really needed a more reliable programmable ECU in addition to needing to dial in my A/F ratio. I read all the threads going on about it, and asked a TON of questions before it was even available. The pre-availability support was excellent which made me feel even better about wanting one. It was certainly worth the wait.
PiMP SETUP and INSTALL:
My PiMP was shipped with NO jumpers installed. When the car wouldn’t initially fire I knew something wasn’t right so I looked inside to see NO jumpers. A quick post on the forum confirmed & gave me the answers I needed so I installed the required jumpers. The instructions DO mention this but I just assumed my PiMP unit would have been configured from the factory for a V8 – no biggy really, it was a quick fix. I also had to install the 12v ignition jumper (more on that under CDI Hookup below) and had to run a vacuum line to the manifold and that was it.
WIDEBAND O2 install:
I initially had some issues getting power to my wideband (AEM 30-2310) O2 sensor. I went through my stock O2 harness with a fine tooth comb but I was never getting 12v to the power wire of the stock O2’s. I traced a lot of under hood wires and harnesses but never found anything wrong. Additionally, I never had any issues with gas mileage or drivability in the past (stock or modified) so I was confident there wasn’t a problem with the wires. My mechanic said I WON’T get 12v because they never see more than 5v so I was getting conflicting info. I did find 12v power to the low oil sender (which is part of the O2 harness) but it never lit my test light…only showed 12v on the digital readout of my multi-meter…HOWEVER, even showing 12v it would NOT power the wideband…
At this point I decided to scrap the stock harness idea for power and wire it to a known 12v key on source – once I did this the wideband powered up with NO problems. I did use the stock signal wire (to pin 29) of the O2 harness and all is perfect.
It took longer to run the wideband wires and mount everything nice and neat out of site than it did to get the actual PiMP ecu installed!
SERIAL to USB CABLE:
Just a small comment here with regards to how things are ordered in the instructions…You actually need to be hooked up to the PiMP with the key on to get a “Successful” message when testing the com port for connectivity. The instructions don’t tell you to connect until later on…Just a minor detail – no biggy.
LAPTOP CRASHING ISSUES:
I had been experiencing my laptop randomly crashing when trying to tune…maybe twice in an hour session. Luckily the car was running & driving fine so no major damage – just frustration. I did some research and found the below link on the TS site. They refer to it as the BSOD (blue screen of death) but my laptop was simply randomly restarting on me:
http://www.efianalytics.com/TunerStudio/faq.html
Once I downloaded and installed the older driver specified in the link above I didn’t have the problem anymore! AWESOME!
CRANE IGNITION (CDI) HOOKUP:
I’m also running a Crane Ignition (CDI) so, per the instructions, make sure no 12V jumper is installed and find the wire going to the ecu from the spout connector and move that to the white (points) wire of the CDI ignition…You’ll see the diagram for this in Appendix D of the startup guide.
Since the SPOUT wire is actually one wire coming from the ECU, through the SPOUT connector over to the TFI connector, I simply found continuity from one side of the spout to the same colored wire on the TFI plug and knew the OTHER spout wire was the one I needed going to the ecu (see diagram). However, I was unable to get things going this route (I even tried the other wire with no luck). The instructions lead you to believe this NEEDS to be done, not true – more on that later, but at this time I bypassed the Crane ignition (and also installed the 12V ignition jumper) to ensure the PiMP was working as it should. Once I installed the 8 injector jumpers the car fired right up! I verified timing advance and it was concluded the PiMP was functioning properly.
Here is a video of that initial startup:
A little more troubleshooting with the Crane hooked up yielded no progress…At this time I found out you can use the PiMP to drive the TFI and then the TFI would drive the ignition (CDI) box…which, in most cases, would have been how it was hooked up originally (in my case it was). This is briefly mentioned in the instructions but they still lead you to believe the other way was the way to go. Anyway, doing things the Ford TFI way requires NO additional wiring with the only limit (the way I understand it) being no 100% spark cut as a rev limiter. Only spark retard and fuel cut is would be available…
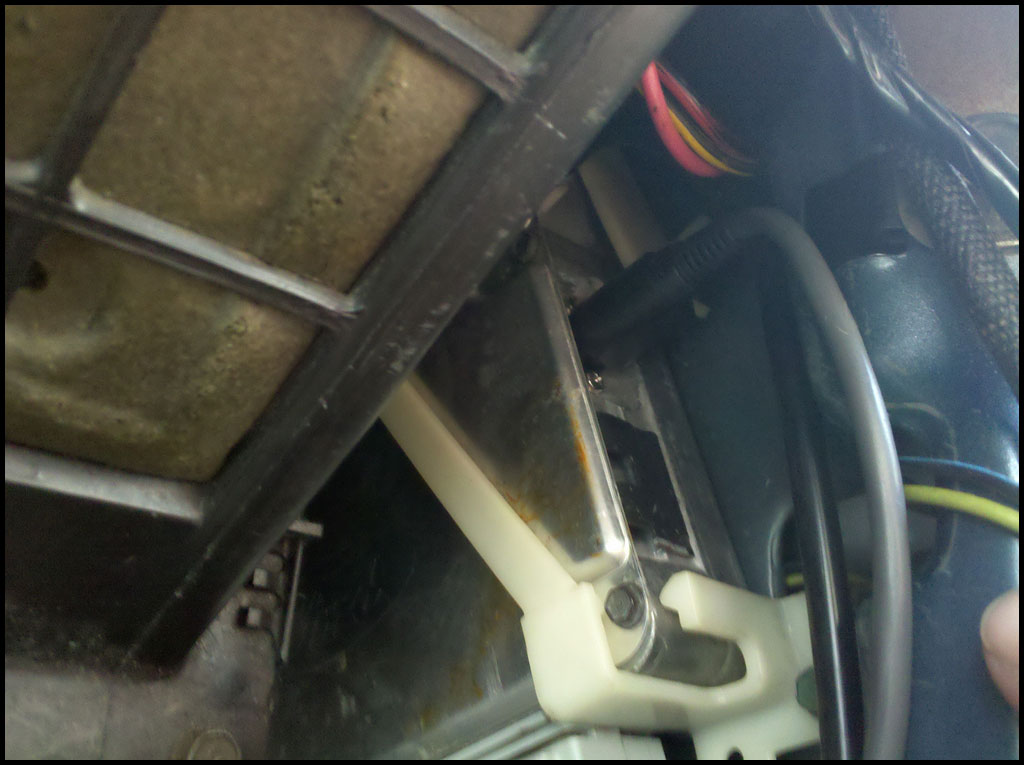
I was fine with this and happy to have everything working as it should. At this point everything was now properly setup, so it was now time to put the PiMP away for good – fitting nicely in the stock ECU location in the passenger’s side kick panel, as advertised. The pic below shows it, and all the room for the data cable and the vacuum line to be routed cleanly and with no interference…
TUNING & TS (TUNERSTUDIO):
I’d first like to say the base tune Stinger provided was amazing…considering I was probably only the second V8 car using this I was certainly skeptical but she fired right up and drove!!! I was very impressed. As seen in the vid above the idle was a bit choppy and I had to keep it running every once in a while by tapping the gas but I was just happy at this point for the car to be running. I noticed my idle A/F ratio was about 13.0. After speaking with wesk, he said large cams can skew low rpm A/F ratios and if it’s showing 13.0 it’s really probably super fat at around 10.5. Even though I was on the phone with him for a while I still didn’t quite understand how to make changes to the tables he was referring to.
However, upon first view of the real time VE fuel table I was thoroughly impressed with TS, in that, it shows you exactly in the table where the car is idling – or where in the table the car is at any point in the throttle for that matter…It does this via a little blue squiggly dot…see vid below for a look.
I simply selected the cells around the idle dot and used the down arrow to take out fuel…as I did this the idle smoothed out right before my eyes. I couldn’t believe it. Idle was near perfect. It was still a hair low and also wanted to stall sometimes coming off cruise but I was very happy at this point and wanted to move on.
VE ANALYZE LIVE:
Now it was time for some cruising on Auto Tune. It’s as simple as that; select the VE Analyze live tab and Start Auto Tune and drive. Vary speed, throttle and constantly go through different gears and watch VE Live do its thing. You can select cells that may be way off and adjust them manually so VE Live can get to fine tuning quicker. I had two 40 minute sessions and drivability was perfect.
Important VE ANALYZE LIVE note: Large cams can skew idle and low rpm a/f ratios so make sure to set an Auto Tune filter to NOT alter cells below 1500 rpm’s. I learned this the hard way and had to re-tune my idle.
Now for WOT – I needed to focus on the 100kpa load % cells since I’m naturally aspirated and won’t see anything higher than that. My initial WOT testing was a bit lean so before making a full pass, I manually added fuel and then let VE Live do the rest…After a few 3rd and 4th gear pulls my a/f ratio was a nice 12.5:1 and the car was running great.
FINE TUNING:
After driving the car for a while now I needed to address a low speed take-off stumble and some stalling issues that I couldn’t figure out. I knew it was lean by the way it was acting but I couldn’t see it in the table. I data logged and posted on the board with what I was experiencing. A short time later, wesk and Stinger posted some info that helped me out BIG time. A little timing below idle helped with the car wanting to stall, a small tweak to the “PWM Idle Duty vs. Coolant Temp” table got the idle up near 1000 where it should be and increased resolution to the fuel table helped me identify a low speed take-off stumble. I could now see exactly where it was happening and was able to add fuel to the appropriate cells for a quick fix! At this point drivability was perfect. I made one last cruising session to verify a/f ratios were good and drivability was perfect and they were.
Here is a video of the car idling after I got everything perfect:
TIMING:
The timing table is just as easy to read as the fuel table. It’s as simple as selecting and changing cells for increased or decreased timing. For example, if you previously had cranked the distributor to 17° (or +7) then simply add 7° to every cell in the table. This is not recommend however because the TS timing table has much more resolution than a stock Ford ECU timing table so being familiar with the base tune timing table is very important and should be the first step before altering the timing. Ultimately, getting the car on the dyno is the best way to make adjustments to the timing table.
OTHER TS HIGHLIGHTS:
TS is pretty awesome in that it saves the latest settings in case of a laptop crash or any sort of connectivity problems. I was indeed having laptop problems and when I came back online TS brought up, side by side, the last burned tune and the last tune I was using in TS for me to compare. At one point I thought I had lost 35 minutes of Auto Tune but I didn’t…I was able to view the changes and verify I wanted to burn them. Really convenient feature!
OTHER RESOURCES:
I couldn’t find the PiMP ecu startup guide online so I’m posting it here for you to view prior to purchasing. I think it will be helpful for planning if you’re considering a PiMP ecu upgrade. Click HERE for the quick start guide. (NOTE: This is the startup guide for the first round of PiMP ecu’s – please use for reference only – contact Stinger for the latest startup guide for your PiMP version)
I’m also including some wiring diagrams that I found useful. I found these over at Four Eyed Pride. They are O2 sensor and SPOUT connector diagrams.
- SPOUT wire reference diagram
- Here, you can see the SPOUT wire simply comes from the ECU through the SPOUT connector to the TFI plug
- Vehicle Harness
- This is an awesome picture of the harness spread out and labeled
- Main Harness Connectors
- Here is a diagram of what each pin is used for on various connectors
- HEGO harness connectors
- Here is another diagram of pins for the HEGO harness
- FORD HEGO harness illustration
- This is a diagram of the main HEGO0 harness – looks to be from a FORD manual
- Another HEGO plug illustration
POWER INVERTER:
One last thing that I found very helpful was to have a power inverter to keep my laptop powered up. The laptop is fairly new and I can get just over an hour of battery out of it but I picked this up just to be safe – and at under $20 to the door it was a no brainer…
http://www.newegg.com/Product/Product.aspx?Item=N82E16882500064

FINAL THOUGHTS:
I love the PiMP ecu it’s simply an awesome piece of hardware. Install was straightforward and it works perfectly! Stinger Performance and wesk have put out an excellent product. Support on the Stinger Performance forum is awesome too which is great for peace of mind!
I put this tech/user experience article together for others who might be interested and just wanted an in depth, real world look at getting up and running.
There are a number of additional features like launch control, nitrous control, table switching and more that I’ve not got in to yet. I will certainly update this article if I add any of these features to my setup.
Thanks again to Stinger Performance and WesK for a great product and great support!
UPDATE
July 18th 2011
I’ll follow-up my original write-up with some more “real world” data.
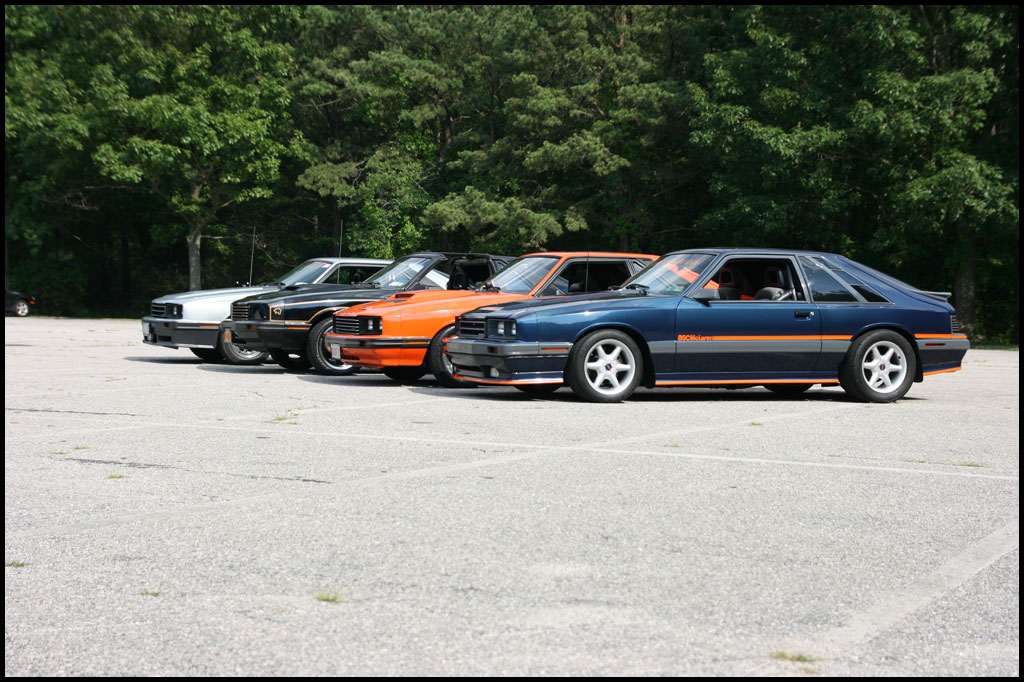
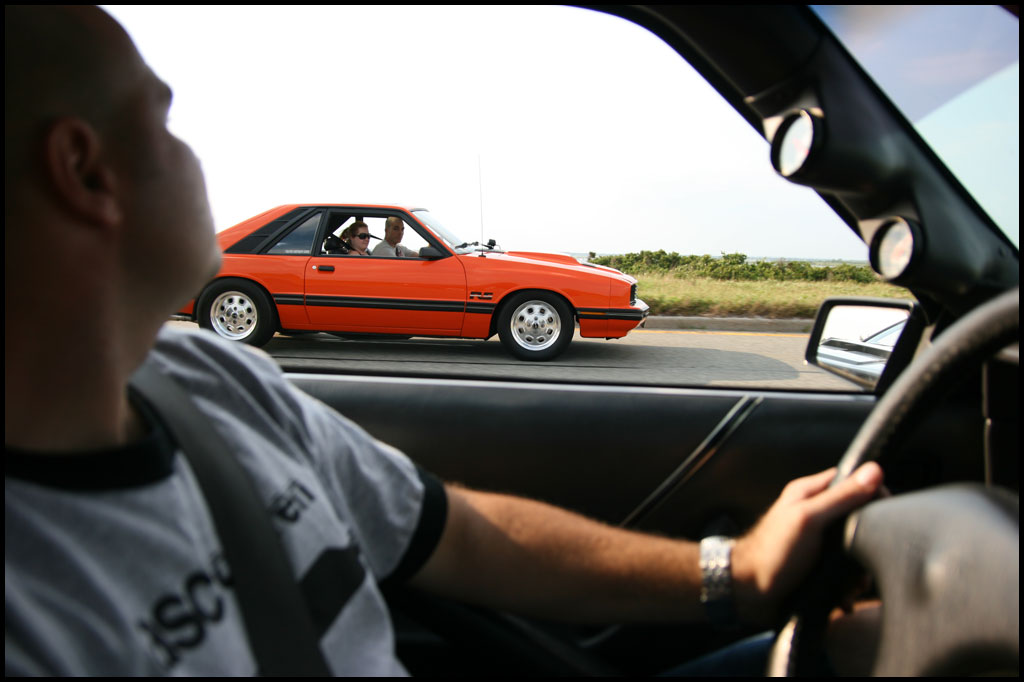
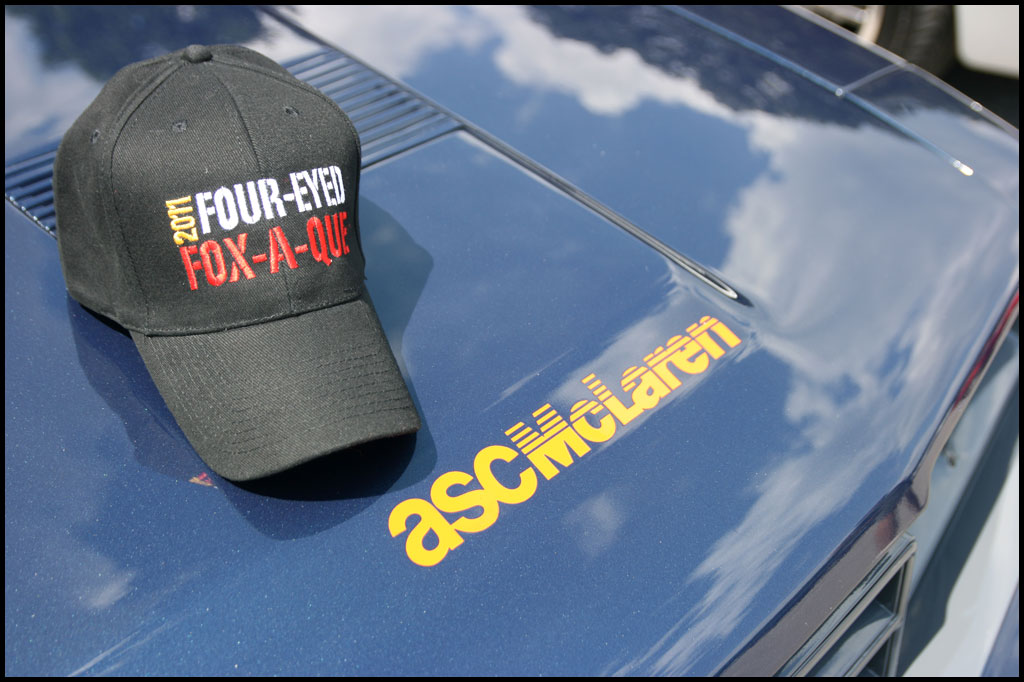
Just got back from a 275 mile trip to Long Island NY (From Philly) with the Capri for the annual Four Eyed Pride BBQ at Bethpage state park. If you’ve never heard of it, FEP is a website and message board dedicated to 79-86 Fox Chassis cars.
Anyway, it went off w/o a hitch. The car ran and drove perfectly in every way. Drivability was awesome – even in traffic and the power was awesome!
I averaged 16.5 mpg (up from 15 last year) and that included a lot of drive home, bumper to bumper traffic and a TON of roll-on’s on a 22 mile stretch of Ocean Parkway. I even had one good 60+ mile stretch of 21.5 mpg so I was stoked!
I didn’t experience any issues throughout the day and this was the final PiMP test before putting my mass air meter, old computer and old piggyback up for sale!
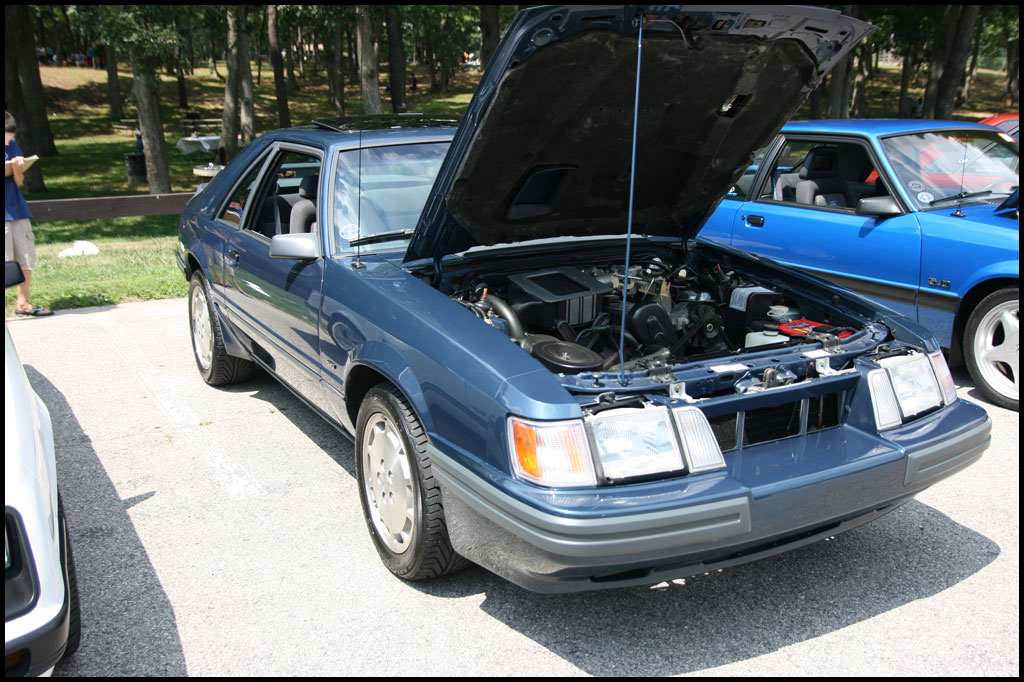
Thanks again to the guys at Stinger Performance! Here are a couple pics of the day – including a sub 15k mile all original SVO! Anyone with a 79-86 Fox Chassis car is more than welcome to attend next year…it’s an absolute blast and the best car experience I’ve had.